Enhancing your open air house with LED panorama lighting can noticeably enrich its aesthetic allure and functionality. Whether you prefer to light up a pathway, highlight architectural positive factors, or create a secure setting in your outside, exact installing is essential to achieving the wanted impression. This booklet will walk you using the standard steps of fitting LED panorama lighting fixtures, making certain that your mission is useful from delivery to complete.
Understanding LED Landscape Lighting
LED landscape lights refers to strength-effectual lighting procedures Astrolux backyard landscape lighting Surrey designed for out of doors use. These lighting are available a lot of patterns and capabilities, which include pathway lights, driveway lighting, garden lighting fixtures, patio lights, and more. The reward of LED approaches encompass their long lifespan, low potential intake, and flexibility in layout.
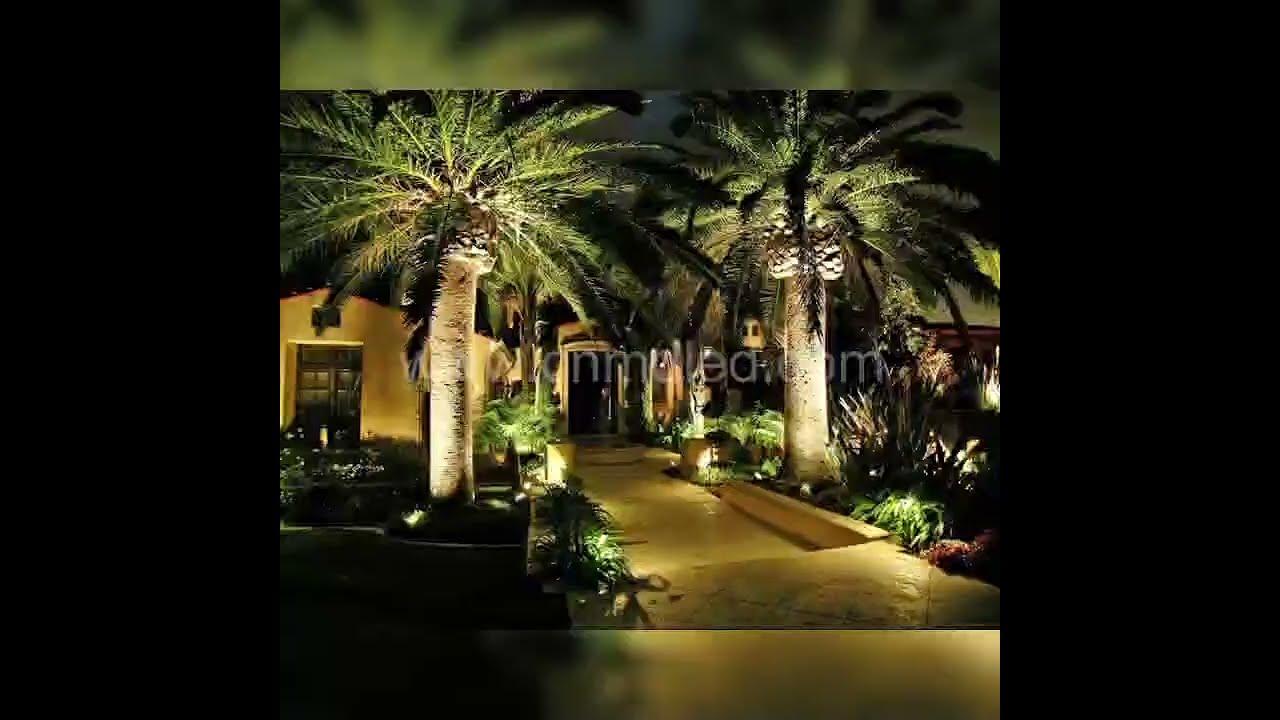
When all for your out of doors lights, reflect on how it'll escalate defense, protection, and aesthetics. For example, effectively-lit pathways not purely keep injuries yet also add a welcoming touch. Similarly, highlighting trees or architectural facets can transform the environment of your yard at evening.
Planning Your Lighting Design
Before you start out digging and wiring, spend time on making plans. A considerate structure will make installing smoother and verify which you reap the wanted glance.
Assess Your Space
Begin by means of interpreting your yard or open air sector. Identify key traits you would like to illuminate—those would be timber, shrubs, entryways, or water aspects. Consider how these factors have interaction with common mild all over varied instances of day.
Create a Lighting Plan
Draw a undemanding map of your landscape and mark where you propose to vicinity every easy fixture. The function is to create layers of light for intensity: use direction lighting along walkways for safety while utilising uplights on timber for dramatic impact. Be aware of spacing; lighting ought to be positioned approximately 10 to fifteen feet aside for even illumination.
Choose Your Fixtures
Select furnishings depending on their motive and fashion. Pathway lights are in general shorter and designed to cast mild downward for protection. Uplights are placed at flooring point to focus on vertical constituents like timber or walls. Remember that coloration temperature issues too; heat white mild (around 2700K) creates a comfortable atmosphere even though cool white (around 5000K) presents a greater progressive really feel.
Gathering Materials
Once you have a plan in area, accumulate all indispensable components in the past opening your challenge. Here’s what you will in general want:

Step-by means of-Step Installation Process
With your constituents organized and plan structured, comply with those steps to put in your LED landscape Astrolux architectural lighting Surrey lights comfortably.
Step 1: Lay Out the Fixtures
Before making any permanent transformations, place the light furnishings per your plan with out securing them in region but. This facilitates you to visualize how they're going to appear while became on at night time.
Step 2: Mark Cable Routing
Once happy with the position of furniture, mark the course in which the low-voltage cord will run among every fixture and from the transformer region lower back to your energy supply—this would be an external outlet or an additional proper connection level.
Step 3: Dig Trenches for Wiring
Depending on regional codes and private choice, you could come to a decision to bury the twine or leave it above floor the use of stakes alongside pathways or flower beds. If selecting burial (that is broadly speaking steered), dig trenches about 6 inches deep alongside the marked path.
Step 4: Install Fixtures
Secure each one fixture in its distinct spot in keeping with brand classes—this will contain inserting stakes into the flooring or fixing them completely if wanted. Ensure that any adjustable furnishings are oriented in the direction of their intended aim subject ahead of tightening screws totally.
Step five: Run Low-Voltage Wire
Lay down the low-voltage cord as a result of the trenches toward each and every fixture whilst making certain connections between wires are relaxed because of water resistant connectors wherein precious. Connect one give up of this wiring returned to the transformer area as informed through its consumer manual.
Step 6: Connect Transformer and Test Lights
Following all security precautions outlined in product manuals:
- Connect wires from furnishings into terminals at the transformer. Plug in or switch on potential on the resource. Test every single easy in my opinion earlier than finalizing any burial paintings; alter angles as considered necessary now in preference to later when every thing is blanketed up!
Step 7: Bury Wires (if suited)
If you might have selected to bury wires underground:
- Carefully canopy them returned up with soil without harmful insulation. Ensure no sharp items penetrate because of after finishing touch—concentrate on including mulch over components as yet another shielding layer opposed to workable ruin from landscaping activities later on.
Maintenance Tips for Longevity
Regular repairs guarantees that your LED panorama lights is still effective over the years:
Clean Fixtures Regularly: Dust accumulation can reduce brightness; wipe down furniture each and every few months. Check Connections: Periodically investigate wiring connections all the way through cleanings; change any corroded connectors quickly. Adjust Timers/Sensors: If using clever outdoor lights solutions with timers/sensors adjust them based on seasonal changes affecting daytime. Inspect Bulbs: Although LEDs ultimate longer than natural bulbs investigate their performance annually; faulty bulbs may want to be replaced swiftly with suitable features.When Professional Help May Be Necessary
While many owners can also uncover DIY setting up straightforward sufficient there are instances while hiring experts makes sense—noticeably if project not easy tradition designs concerning numerous zones or shrewdpermanent integration tactics requiring complex electric potential.
Professional lights amenities too can guide guarantee compliance with neighborhood laws regarding electrical Astrolux Surrey lighting design and installation paintings exterior which fluctuate largely depending upon location—and this might prevent equally complications down street in addition prospective fines!
Conclusion
Installing LED landscape lighting can turn out to be no longer simply how a space looks after dark however additionally enrich its usability all through night hours—a real funding into either attractiveness and functionality! By following these steps cautiously from making plans simply by execution—consisting of holding those lovely new fixtures—you can still savour breathtaking results year-round with no unnecessary rigidity along way ahead in the direction of brighter nights ahead!
Surrey Landscape Lighting Astrolux 17033 Fraser Hwy, Surrey, BC V4N 6V2 +1 778-786-0789